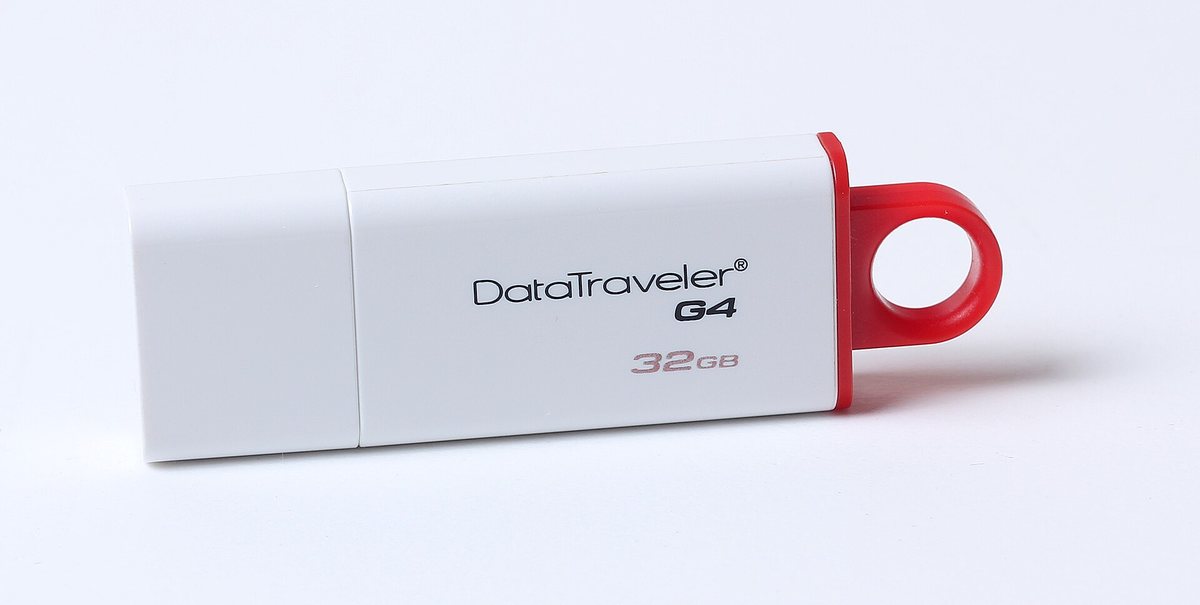
Your Tesla already has the cameras of a high-end dashcam system built in. What it doesn’t come with, in many cases, is somewhere to store the video. Without a properly set up USB drive, Dashcam and Sentry Mode can’t save anything, and you only find that out after a fender bender in a snowy Costco parking lot or a scrape on the 401. Here’s how to set it up properly in about ten minutes, based on Tesla’s owner’s manual.
Step 1: pick the right USB drive
Tesla lists four requirements for a drive used for Dashcam and Sentry Mode:
- A minimum capacity of 64 GB. Tesla suggests using as much storage as possible, since video takes up a lot of space.
- A sustained write speed of at least 4 MB/s. Tesla points out that sustained speed is different from the peak speed printed on many packages.
- USB 2.0 compatibility. A USB 3.0 drive is fine as long as it also supports USB 2.0.
- Proper formatting, covered in the next step.
In some regions, Tesla sells recommended drives on its website. Any drive that meets these specs should work.
Step 2: format it in the car
The easiest way to format the drive is to let the car do it. Insert the drive into a front USB port, then touch Controls > Safety > Format USB Drive. The car formats it as exFAT and creates the TeslaCam folder that Dashcam and Sentry Mode need.
Two warnings: formatting erases everything already on the drive, so copy off anything you want to keep first. And the option only appears when the drive has one partition or less.
If the car can’t format the drive, you can do it on a computer. Tesla supports exFAT, MS-DOS FAT (for Mac), ext3 or ext4. NTFS isn’t supported. If you format on a computer, you must create the TeslaCam folder at the top level yourself. You can also split one drive into several exFAT partitions, for example one for TeslaCam, one for Track Mode on cars that have it (using a TeslaTrackMode folder) and one for music.
Step 3: use the right port
Tesla recommends the USB port in the glovebox for Dashcam and Sentry Mode footage, saying it increases security and minimizes power consumption. On some vehicles built after about November 2021, the centre console ports may only charge devices, so use the glovebox port for recording. Don’t use a rear USB port, since those are only for charging.
It can take up to 15 seconds for the car to recognize the drive. Once it does, the Dashcam and Sentry Mode icons become available.
Step 4: choose how Dashcam saves clips
Go to Controls > Safety > Dashcam and pick one of three modes:
- Auto: saves a recording automatically when the car detects a safety-critical event, such as a collision or airbag deployment. Tesla cautions that detection can vary, so don’t rely on it to catch every event.
- Manual: you tap the Dashcam icon to save the most recent 10 minutes of driving.
- On Honk: pressing the horn saves the most recent 10 minutes. This is handy for close calls, when tapping the screen isn’t practical.
You can add the Dashcam app to My Apps at the bottom of the screen for quick access. Note that Dashcam only records when the touchscreen is on. It doesn’t record when the car is powered off; that’s what Sentry Mode is for.
Step 5: understand the folders
Inside TeslaCam you’ll find three folders:
- Recent Clips: Dashcam records continuously in 60-minute cycles and overwrites this footage every hour unless you save it.
- Saved Clips: everything you saved with Dashcam.
- Sentry Clips: the last 10 minutes of footage from Sentry Mode events that triggered an Alert or Alarm. When space runs low, the oldest Sentry Clips are deleted to make room, and they can’t be recovered.
When the drive is full, new video can’t be saved. Tesla’s advice is to regularly move saved videos to another device and delete them from the drive. You can watch clips on the touchscreen while in Park, or delete all footage under Controls > Safety > Delete Dashcam Clips. To avoid losing footage, pause Dashcam before pulling the drive out.
What it means for Canadian owners
Winter is when video matters most. Slippery roads and packed holiday parking lots make fender benders and door dings more likely. Clear footage can make an insurance claim much simpler. Set Dashcam to Auto or On Honk, and turn on Sentry Mode where it makes sense, using the Exclude Home option so it doesn’t run in your own garage. Sentry Mode needs the battery to be at least 20% charged.
A good drive in the glovebox also supports the anti-theft settings in our PIN to Drive and theft protection guide. If you’re leaving the car parked for a long trip, read our winter parking guide first, since Sentry Mode uses extra power.
Has your Tesla’s camera ever saved the day? Share your Dashcam setup with 18.0K owners in Tesla Model Y & 3 [Ontario, Canada]. Come join us!
On X? Join our community Tesla Model* [Ontario, Canada] too.